Introduction
In my previous post I explained the fundamentals of the powerful encryption tool, VeraCrypt. If you are not familiar with VeraCrypt, I’d suggest going back and reading it first so that this post will make some sense.
In this post I’ll cover how to use VeraCrypt’s hidden containers feature, explaining what it is for then seeing step by step screen shots on how to set it up and use it.
What Are Hidden Containers For?
Let’s say you have a Bitcoin wallet with a sizable amount of money. You travel a lot, and are concerned with someone tampering with your data.
Often times a countries border agents will want to search your computer. I’m not casting aspersions on anyone’s honesty, but you never know.
Now you could setup a standard VeraCrypt container, but what if a tech savvy person noticed it? They could demand you give up your password to the vault. At some point you would wind up giving in, giving access to data you didn’t want shared (your Bitcoin wallet). This is where hidden containers come into play.
VeraCrypt allows you to create a container inside a container. Into what VeraCrypt refers to as the “outer” container, you can place information that looks important, but in reality isn’t.
You can then create the inner or “hidden” container, giving it a different password. To anyone who inspects the outer container, there is no way to tell it contains a hidden container.
In the above scenario, you simply give up, after some fake complaining of course, the password to the outer container. You interrogator will have no way to tell there’s more in there.
When you want to get to the hidden area, you mount it using the password to your hidden container. Let’s see how to setup a hidden container, then how to use it.
Setting up a Hidden Container
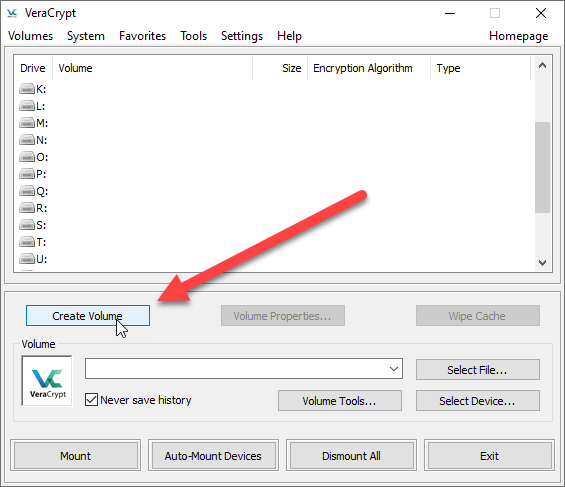
Let’s start by opening VeraCrypt.
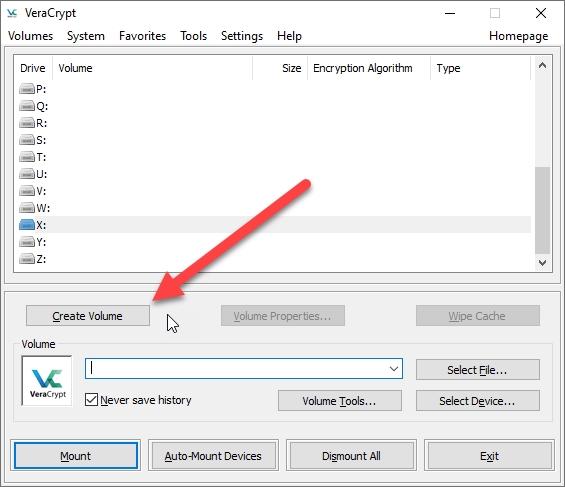
Begin the process by clicking the Create Volume button.

For this demo I’ll use an encrypted file container, but these steps will also work when you encrypt a non-system partition/drive, as we did in my previous post using a USB thumb drive.
I’m going to take the default of the encrypted file container and click the Next button.

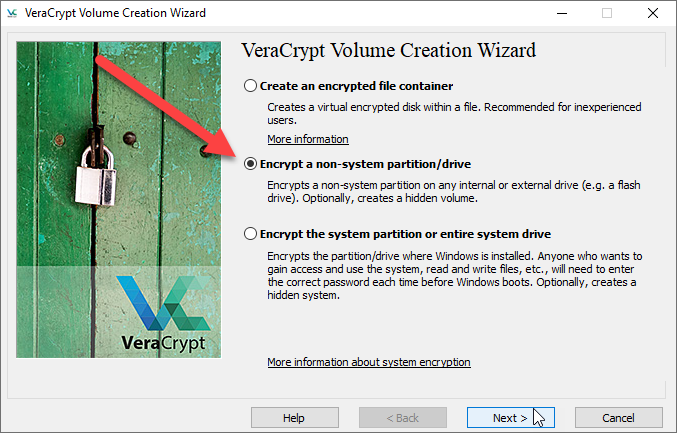
Now we begin creating a hidden container by changing the option to Hidden VeraCrypt Volume and clicking Next.
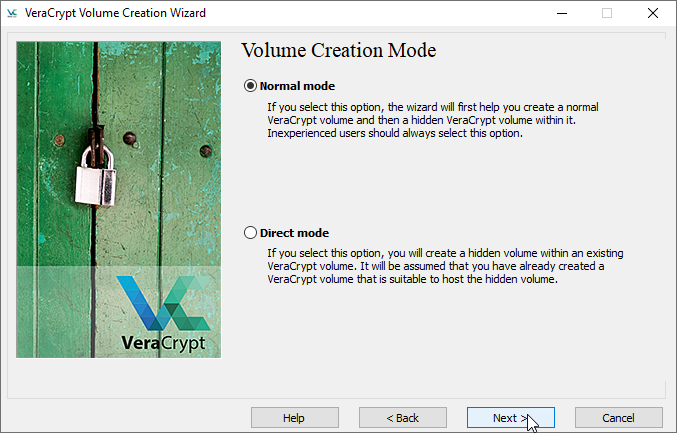
Now we begin specifying how we’ll be creating our container. In Normal Mode it assumes we have no container. This is the most common method, and what we’ll use here.
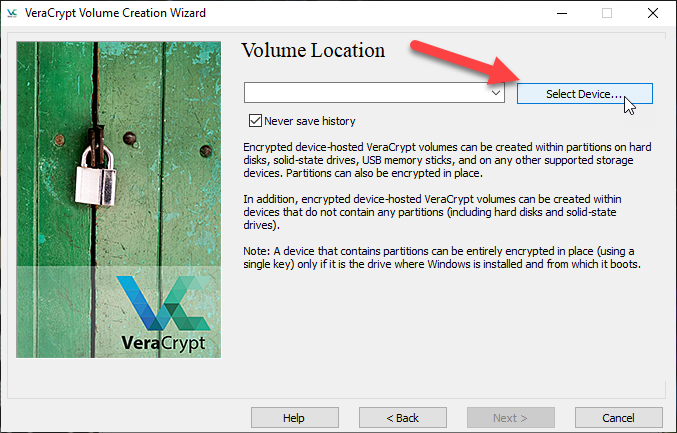
In Direct Mode, VeraCrypt will let us add a hidden container to an already existing container. The steps are similar, although since a container already exists it will skip over the next few screens picking up where we start configuring the hidden container.
For this demo we’ll keep the default of Normal Mode and click Next.
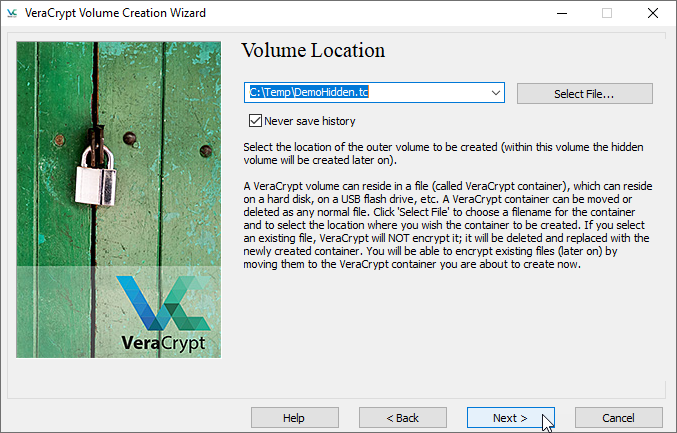
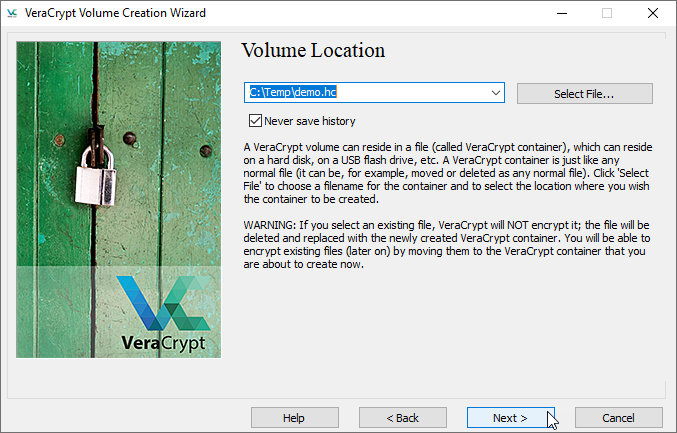
Now we need to specify where to store the new file container. Here I just typed in C:\Temp\DemoHidden.hc and clicked Next.

Now we begin the process of configuring the Outer volume. Just click Next to proceed.
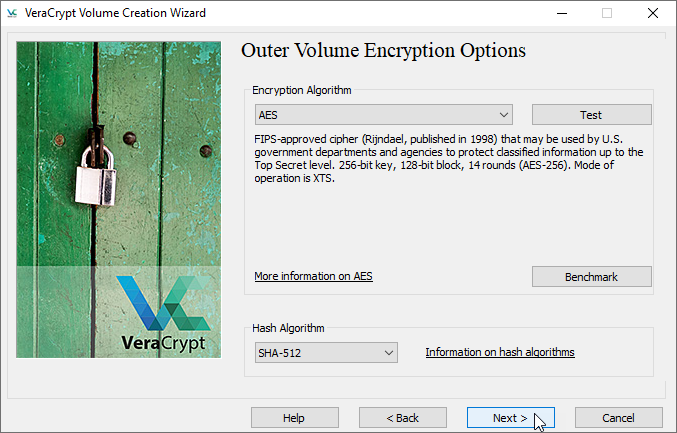
Here we’ll select the encryption method. These were discussed in the previous post, so for this demo I’ll just take the default of AES and click Next.

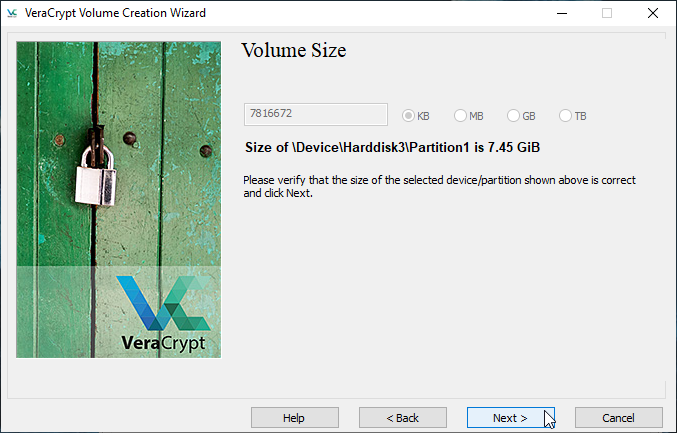
Now we need to specify how big to make the entire container. This will need to be big enough to hold the data we want to put in our hidden container, as well as the space to put our “fake” data we are willing to give up.
For this demo I’m making it a small 250 megabytes, just to go quickly, but you can make this any size you need.

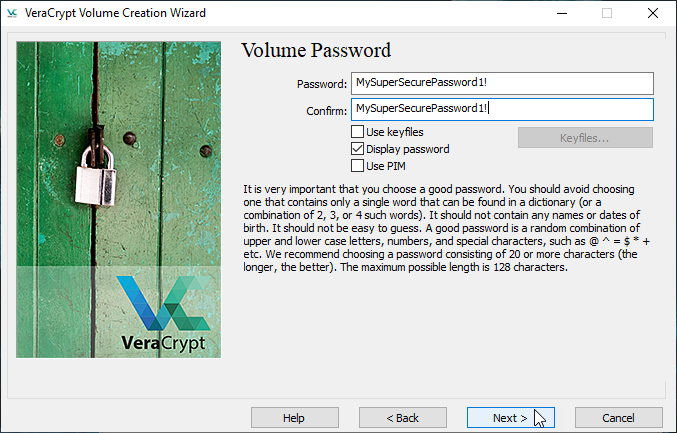
Now we’ll enter the password for the outer container. Follow the same rules for password generation you normally would. Also keep in mind the outer and (when you create it in just a moment) hidden passwords will need to be different.
I’ve checked on the Display Password box so you can see it, and am using the same MySuperSecurePassword1! password I used in the previous post. Once the password is entered, click Next.
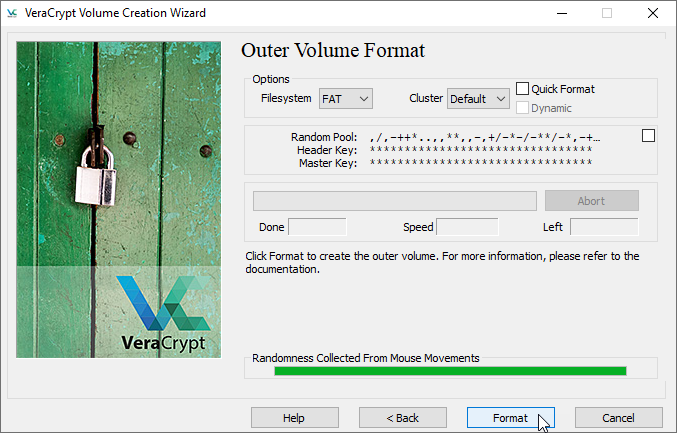
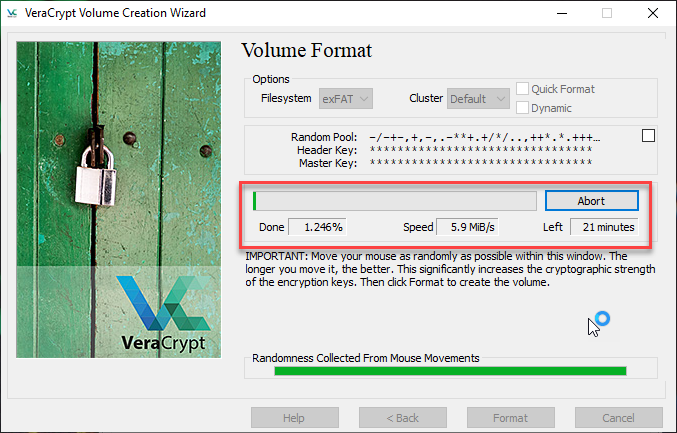
Now you jiggle the mouse around to generate some random data VeraCrypt can use to create the real encryption key. Keep going until the bar at the bottom goes green all the way across. Once it does, you can click Format.
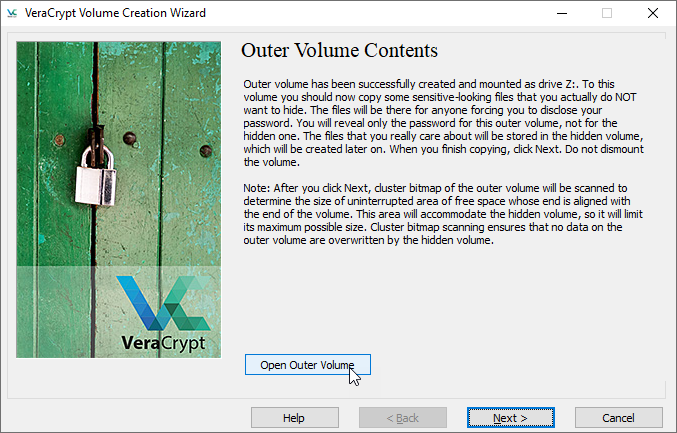
When formatting is complete, VeraCrypt is ready for you to copy your fake data into it. Click on the Open Outer Volume button and a file manager for your operating system will open.
Here in Windows it’s the Windows File Explorer, on macOS it will be Finder, and on Linux it will be the file manager for your particular distro.

Once it has opened, copy some fake files you’ve prepared to put in here. Remember this should be data that looks realistic, but isn’t.
One idea might be an Excel Spreadsheet with a family budget, only with fake numbers. Another might be a text file with some realistic looking but fake credit card numbers. Again, data that looks real but isn’t so if someone takes it you won’t be hurt financially or otherwise.
For this demo I’m simply using the same pic I currently (at the time of this writing) use on my Twitter account so you can easily see what is in the outer container.
Be aware this isn’t your only chance, at the end of this post I’ll show how to open the outer container again so you can add, remove or update files in it.
Once done, close the file explorer, return to VeraCrypt and click Next.

Now VeraCrypt lets you know it’s time for configure the hidden volume. Simply click Next to proceed.

You are now asked what encryption method to use on the hidden volume. It is indeed possible to use a different encryption method for the hidden area than you did on the outer container. Doing so isn’t a bad idea, as it can make it more difficult for an advanced hacker to break in.
For this demo I’ll stick to AES, but feel free to pick something different if you wish, then click Next.
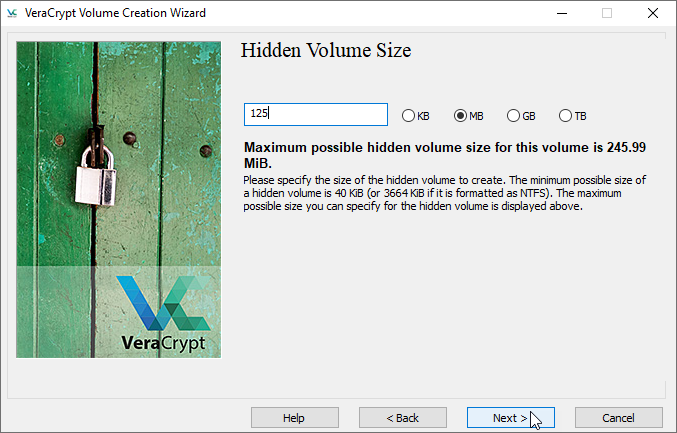
Next you need to let VeraCrypt know how much space you want to reserve for the hidden container.
VeraCrypt examines what you have in the outer area, then lets you know how much of the free space you can use for the hidden area. Typically you don’t want to max it out, so you can go update the outer area from time to time.
Here I’m going to use half of my space for the hidden area, in this case 125 megabytes. I enter that, then click Next.

It’s time to enter a password for your hidden volume. Please note, the password for the hidden volume must be different than the outer volume!
Here I will use MySuperSecurePassword2! for illustration purposes, changing the number 1 used in the outer volume to a 2. In real life this would be very easy for someone to guess, so be sure to pick a password that is wildly different from the outer one.

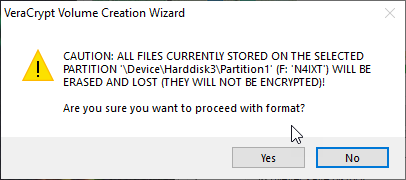
Next we need to format the hidden area. As usual, jiggle the mouse around until the green bar is all the way across the bottom and click Format.

When formatting is complete you are presented with the above informational message. In short, it says if you open the outer volume without taking precautions (which I’ll show in a moment) you can accidentally overwrite the hidden partition.
Simply click OK to dismiss the message.

OK, you are all done with the creation. Simply click Exit to leave the wizard.
Now let’s see how to use the hidden container.
Accessing A Hidden Container

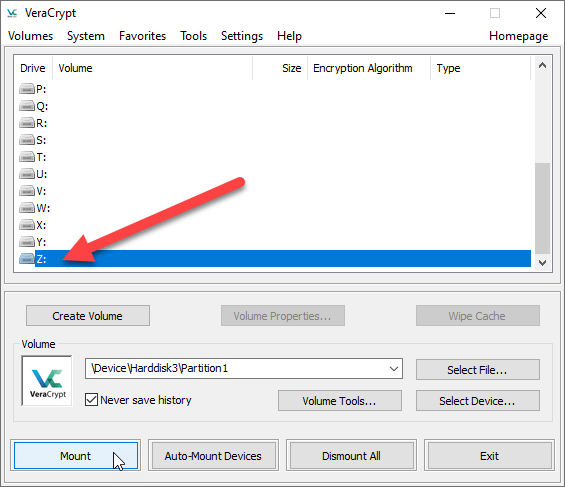
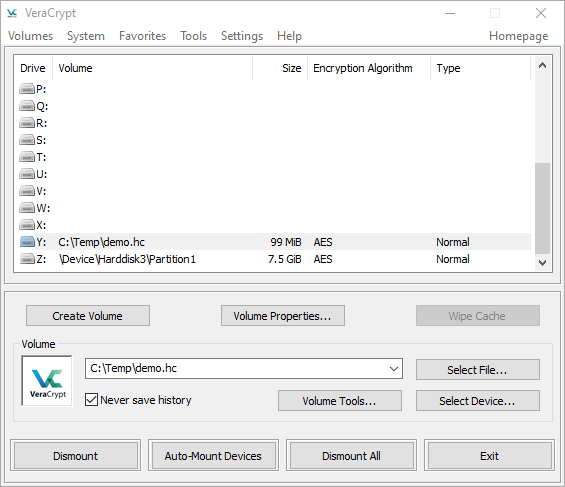
Accessing a hidden container is no different than accessing a regular container that doesn’t have a hidden one. Simply enter the path to the file (or select the device, such as a thumb drive), pick an unused drive letter, and click Mount.

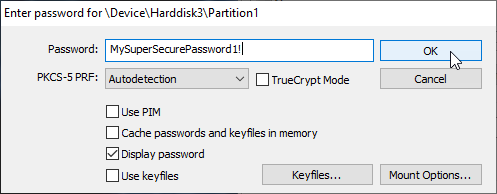
Enter the hidden volumes password, as I did here using the MySuperSecurePassword2!, and click OK.

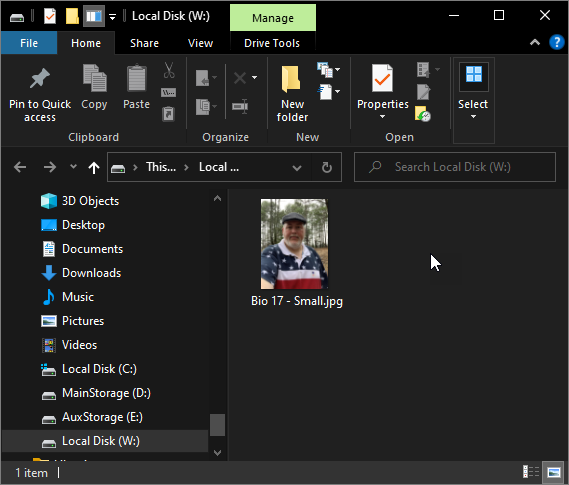
You can now open the drive letter (in this example W:) in your file explorer and copy files into your hidden container. Here I’ve copied in a photo I took of the historic Boll Weevil Monument from my old home town of Enterprise AL.
Note that this is the only picture here. The photo I use for Twitter doesn’t appear, as it is part of the outer volume.
When you are done, you can close your file explorer, return to VeraCrypt and Dismount the hidden container.
Accessing the Outer Container
What if you need to access the files in the outer container? For example, you may wish to copy updated fake data into it in order to keep it looking realistic.
It is possible to get to the outer container, but you need to take a few extra steps to prevent over writing the data in your hidden container.
As normal, enter the file name for your container (or select the device), pick a drive letter, then click Mount.

When the mount dialog appears, enter your password to the outer container. But WAIT!
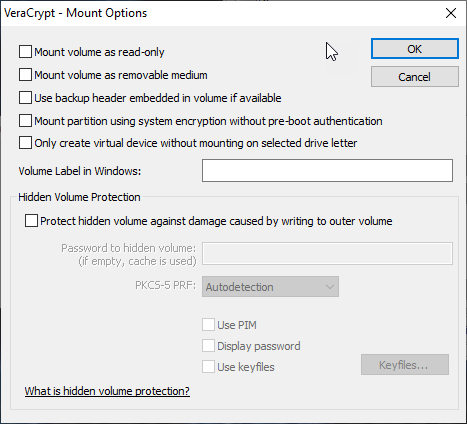
Before you click OK, you need to click on the Mount Options button.

Go down to the bottom and check the box that says “Protect hidden volume against damage caused by writing to the outer volume“.
Now enter the password to the hidden volume, then click OK.

Now it displays another message warning against updating the hidden volume. It is possible, but not recommended, to have both the outer and hidden volume at the same time. Writing data to the hidden area could corrupt both the outer and inner areas.
As such I have a personal rule never to have both volumes open at the same time, and I highly suggest you stick to that rule.
Now you can click OK to mount the outer volume. With the outer volume now mounted, you can now access it in your file explorer.
Here you can see my Twitter photo I copied in originally. I can now update it, or copy in a few more files, up to the amount I have space for.
In my case, I have a 250 MB container, but I’ve reserved 125 MB for the hidden space, leaving me roughly 125 MB to put data in the outer area (VeraCrypt does use a little space in the container for its data).
Backup To Prevent Unintentional Damage
Remember how I said you could give the password to the outer container to an agent, or perhaps a bad guy?
Obviously you aren’t going to tell them about the hidden container, as such they won’t use the Mount Options to prevent overwriting the hidden area. Thus it is possible they could wind up destroying your hidden info.
To prevent this, be sure to make a backup of your container. Store it in a safe place away from home, such as a relatives house or your safety deposit box. This way a bad guy could go so far as to destroy your device and your data will still be safe.
Containers in Containers
One last thing, be aware VeraCrypt has no problems storing encrypted containers inside other containers.
For example, you could use VeraCrypt to encrypt a thumb drive. Then you could create a second file container, perhaps one with a hidden volume, and store it on the encrypted thumb drive.
You could go so far as to give it a different extension, perhaps using .dat instead of the default .hc, so a casual observer would not know it is a VeraCrypt container. When you select a file to mount, VeraCrypt doesn’t care what the extension is.
While this may seem a little paranoid, it is possible you may have a need for this level of protection so I just wanted you to be aware this option exists.
Conclusion
In this post I covered how to use the hidden container feature of VeraCrypt, one of it’s advanced options. Using it you can protect your most sensitive data.
In the next and final post we’ll see how to write scripts so you can automate the process of mounting and dismounting containers.