Introduction
There are tasks that we all do, but rarely. It’s helpful to have a reference to go back to.
Expanding the size of a Virtual Hard Disk, or VHDX file, is one of those. I use Hyper-V quite a bit to create virtual machines for testing, development, and the like. Every so often though I’ll underestimate the amount of space I’ll need for a machine.
As it turns out expanding the drive size isn’t terribly difficult, but there’s quite a few steps involved. This post will server as a reminder to myself, and hopefully guide others, in expanding the size of a VM drive.
I’ll break this into two parts. In the first half, we’ll see how to expand the drive within Hyper-V. This will expand the VHDX file to a new larger size.
In the second half, we’ll go into the Windows running in the VM to tell it to use the newly expanded space.
Expanding the Drive in Hyper-V
Begin by opening Hyper-V. In the Hyper-V manager, click on Edit Disk in the Actions.

This will open the Edit Virtual Hard Disk Wizard.

If this is the first time you’ve run the wizard, you’ll see a welcoming screen. If you see this, I’d suggest clicking on “Do not show this page again” and clicking Next.

Now use the Browse… button to locate the VHDX file you wish to modify. Once you’ve done that, click Next.

Now we’ll select the action, in this case we’ll pick the Expand option and click Next.

Now we’ll enter a new size for the drive. It shows the current size as 250 GB, so I’ve entered 500 so I can double the size. Obviously you’ll enter a size appropriate to your needs.
Once done, click Next.
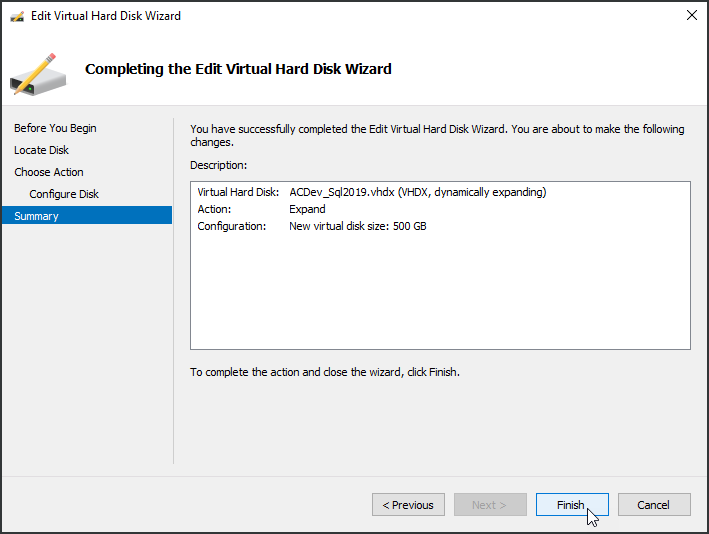
On the final page of the wizard it shows what is about to happen. It lists the name of the VHDX file we’re working on, what the action is (Expand), and what the size will be of the new drive.
Just click Finish and the VHDX file will be updated.
Accessing The Expanded Space in Windows
In this example we’ll be using Windows 10 inside our Virtual Machine. Go ahead and start, then connect to your Windows 10 Virtual Machine.
If you go into File Explorer you’ll see something interesting.

Even though we expanded the VHDX to 500 GB, our virtual machine still thinks the C drive is 249 GB.
What we need to do is expand the already existing drive into the newly allocated space.

In the Windows 10 menu, go down to Windows Administrative Tools, then pick Computer Management.

The Computer Management window has a tree on the left. If the Storage tree is not expanded, do so and click on the Disk Management branch.
In the screen capture above, you can see the orange arrow is pointing to the existing C drive area. To the right of that a green arrow points to the newly added but still unallocated space.
Right click in the C: drive area, and in the menu that appears select Extend Volume…

The Extend Volume Wizard now appears, just click Next to proceed past the welcome screen.

By default the wizard will put the only unallocated partition in the selected area, but if you have more than one unallocated partition you can select a different one.
At the bottom, the “Total volume size will” show the total amount of space on the new drive, once the unallocated space has been added.
The next line shows the maximum space in the unallocated partition.
The final line allows you to select the total amount of space to pull from the unallocated area. By default it is set to the max space in the unallocated area, but if for some reason you want to save some of that you can lower the amount.
In this case I’ll take the default options and click Next.

You’ve now reached the final screen of the wizard, just click Finish to have it do its work.

The Computer Management window now shows the expanded C drive. You can now close the Computer Management window.
If you go back to the File Explorer and refresh it, your C drive will now show the new size.

Conclusion
In this article, we expanded the size of a Hyper-V virtual hard disk (VHDX) that hosted a Windows 10 installation. As you saw, it was pretty simple to do, but did require a few steps.
Hopefully you’ll find this useful in working with your Hyper-V machines.
