Introduction
In our previous two posts, we covered the use of static properties and methods in classes, then saw how to use method overloading.
This is our final post of the series, and will cover the use of constructors. Constructors are functions that execute automatically when a class is instantiated.
For all of the examples we’ll display the code, then (when applicable) under it the result of our code. In this article I’ll be using PowerShell Core, 7.2.1, and VSCode. The examples should work in PowerShell 5.1 in the PowerShell IDE, although they’ve not been tested there.
You may notice a backtick ` character at the end of many lines in the code samples. This is PowerShell’s line continuation character. The blog formatting has a limited width, so using the line continuation character makes the examples much easier to read. I have a section dedicated to the line continuation character in my post Fun With PowerShell Pipelined Functions if you want to learn more.
To run a snippet of code highlight the lines (or parts of a line) you want to execute, then in VSCode press F8 or in the IDE F5. You can display the contents of any variable by highlighting it and using F8/F5.
Starting Point
As a reminder, this is our demo class TwittererRedux as we left it at the end of the last post. We’ll start from it in this post.
class TwittererRedux
{
  # Create a property
  [string]$TwitterHandle

  # Create a property and set a default value
  [string]$Name = 'Robert C. Cain'

  # Static Properties
  static [string] $Version = '2022.01.07.002'

  # Function that returns a string
  [string] TwitterURL()
  {
    $url = "https://twitter.com/$($this.TwitterHandle)"
    return $url
  }

  # Overloaded Function that returns a string
  [string] TwitterURL($twitterHandle)
  {
    $this.TwitterHandle = $twitterHandle
    $url = $this.TwitterURL()
    return $url
  }

  # Function that has no return value
  [void] OpenTwitter()
  {
    Start-Process $this.TwitterURL()
  }

  # Can launch a twitter page without instantiating the class
  static [void] OpenTwitterPage([string] $TwitterHandle)
  {
    # Note here we cannot call the $this.TwitterUrl function
    # because no object exists (hence no $this)
    $url = "http://twitter.com/$($TwitterHandle)"
    Start-Process $url
  }

}

# Create a new instance and update the handle
$twit = [TwittererRedux]::new()
$twit.TwitterHandle = 'ArcaneCode'
Constructors
In the original version of our class, we created a new instance of the class by calling the ::new() static method. Then, we assigned a value to our TwitterHandle property. Wouldn’t it have been nice to do it all in one step?
Well that is possible through the use of a constructor. A constructor is a function that gets run automatically when the object is instantiated, as part of the ::new() static method. Every class gets a constructor automatically, it’s just empty.
Below is an example of our class with a constructor. For brevity I’m omitting most of the class code, and will reproduce the full class sample at the end of this post.
class TwittererRedux
{
  # Default Constructor
  TwittererRedux ()
  {
  }

  # Create a property
  [string]$TwitterHandle

  # ... rest of class goes here
A constructor is a function, with the exact same name as the class. As you can see in the sample above, TwitterRedux is both the name of the class, as well as of the function.
In this case the function is empty, it doesn’t do anything, which is what the behavior of the default constructor should be.
Having constructors allows us to create more compact code. For example, in previous examples we create a new instance of our class, then assign a handle to the TwitterHandle property on the next line. Using a constructor we can provide the ability to compress our code, creating a new instance and assigning the TwitterHandle value all in one step.
To do so, we need to create another function with the same name as our class, TwittererRedux.
class TwittererRedux
{
  # Default Constructor
  TwittererRedux ()
  {
  }

  # Constructor passing in Twitter Handle
  TwittererRedux ([string]$TwitterHandle)
  {
    $this.TwitterHandle = $TwitterHandle
  }

  # Create a property
  [string]$TwitterHandle

  # ... rest of class goes here
This technique uses overloading, as discussed in a previous post. Here we have added a single parameter, $TwitterHandle. Within the function we take the value passed in and assign it to the TwitterHandle property for the current instance, represented by $this.
Before I go on, I need to mention an important rule. When you override a constructor, you must manually add the default constructor! You can see that was done in the above sample.
So how do we use it? Pretty simple actually, when we instantiate our object by using new, we pass in the value.
# Create a new instance using an overloaded constructor
$twit = [TwittererRedux]::new('ArcaneCode')

# Display the result
$twit.TwitterHandle
Result:
ArcaneCode
Here when we called new, instead of leaving the parameter area empty we passed in a single string value. PowerShell then followed the rules of overloading as seen in the previous post. It looked over the set of constructors and found one that had a single parameter of type string and executed the code associated with it.
Let’s further expand by adding another constructor so we can assign both the handle and the name when we instantiate a new object from our class.
class TwittererRedux
{
  # Default Constructor
  TwittererRedux ()
  {
  }

  # Constructor passing in Twitter Handle
  TwittererRedux ([string]$TwitterHandle)
  {
    $this.TwitterHandle = $TwitterHandle
  }

  # Constructor passing in Twitter Handle and Name
  TwittererRedux ([string]$TwitterHandle, [string]$Name)
  {
    $this.TwitterHandle = $TwitterHandle
    $this.Name = $Name
  }

  # Create a property
  [string]$TwitterHandle

  # ... rest of class goes here
In our second constructor we have two string parameters, which will be assigned to the handle and name properties of the current object.
$twit = [TwittererRedux]::new('ArcaneCode', 'Mr. Code')
$twit.TwitterHandle
$twit.Name
Result:
ArcaneCode
Mr. Code
The Final Version
As promised, here is the final version of our TwitterRedux class.
class TwittererRedux
{
# Default Constructor
TwittererRedux ()
{
}
# Constructor passing in Twitter Handle
TwittererRedux ([string]$TwitterHandle)
{
$this.TwitterHandle = $TwitterHandle
}
# Constructor passing in Twitter Handle and Name
TwittererRedux ([string]$TwitterHandle, [string]$Name)
{
$this.TwitterHandle = $TwitterHandle
$this.Name = $Name
}
# Create a property
[string]$TwitterHandle
# Create a property and set a default value
[string]$Name = 'Robert C. Cain'
# Static Properties
static [string] $Version = '2022.01.07.002'
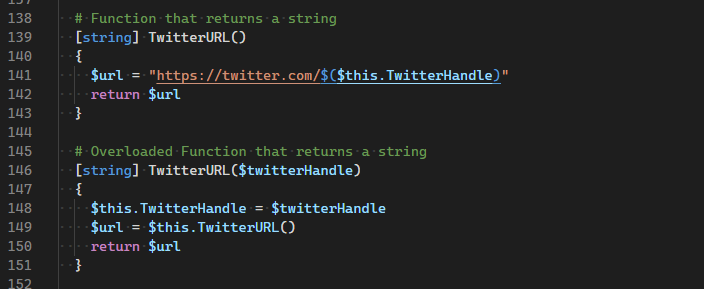
# Function that returns a string
[string] TwitterURL()
{
$url = "https://twitter.com/$($this.TwitterHandle)"
return $url
}
# Overloaded Function that returns a string
[string] TwitterURL($twitterHandle)
{
$this.TwitterHandle = $twitterHandle
$url = $this.TwitterURL()
return $url
}
# Function that has no return value
[void] OpenTwitter()
{
Start-Process $this.TwitterURL()
}
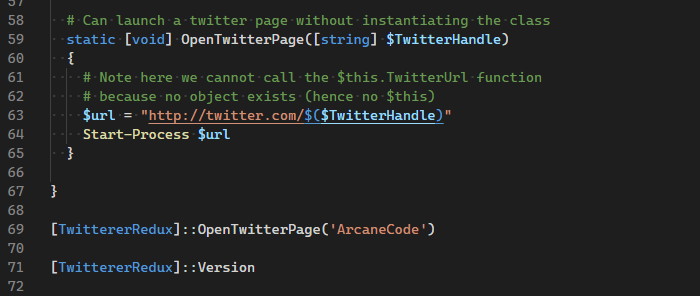
# Can launch a twitter page without instantiating the class
static [void] OpenTwitterPage([string] $TwitterHandle)
{
# Note here we cannot call the $this.TwitterUrl function
# because no object exists (hence no $this)
$url = "http://twitter.com/$($TwitterHandle)"
Start-Process $url
}
}
Constructors vs Overloading
Constructors are very similar to overloading a function, but not exactly the same.
Just like overloading, each constructor declaration must be different in terms of the number of parameters and their data types.
Unlike overloads, you have access to the properties and methods of the object. This is what let us assign values to our properties when we created the new instance of the object.
Conclusion
Constructors can aid in making our code more compact, and allowing us to assign values when we instantiate new objects. Be cautious though, it can be tempting to make far more constructors than you need. Ensure that your constructors cover only the most common situations, otherwise you’ll have a confusing mess that you have to document and maintain.
The demos in this series of blog posts were inspired by my Pluralsight course PowerShell 7 Quick Start for Developers on Linux, macOS and Windows, one of many PowerShell courses I have on Pluralsight. All of my courses are linked on my About Me page.
If you don’t have a Pluralsight subscription, just go to my list of courses on Pluralsight . At the top is a Try For Free button you can use to get a free 10 day subscription to Pluralsight, with which you can watch my courses, or any other course on the site.